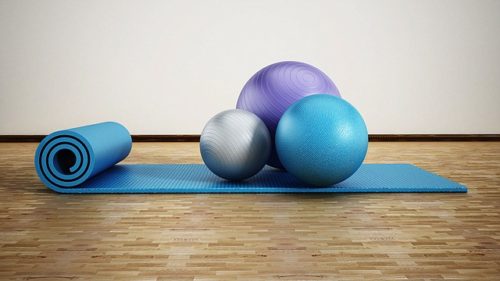
Now you can practice Pilates in the comfort of your own home!

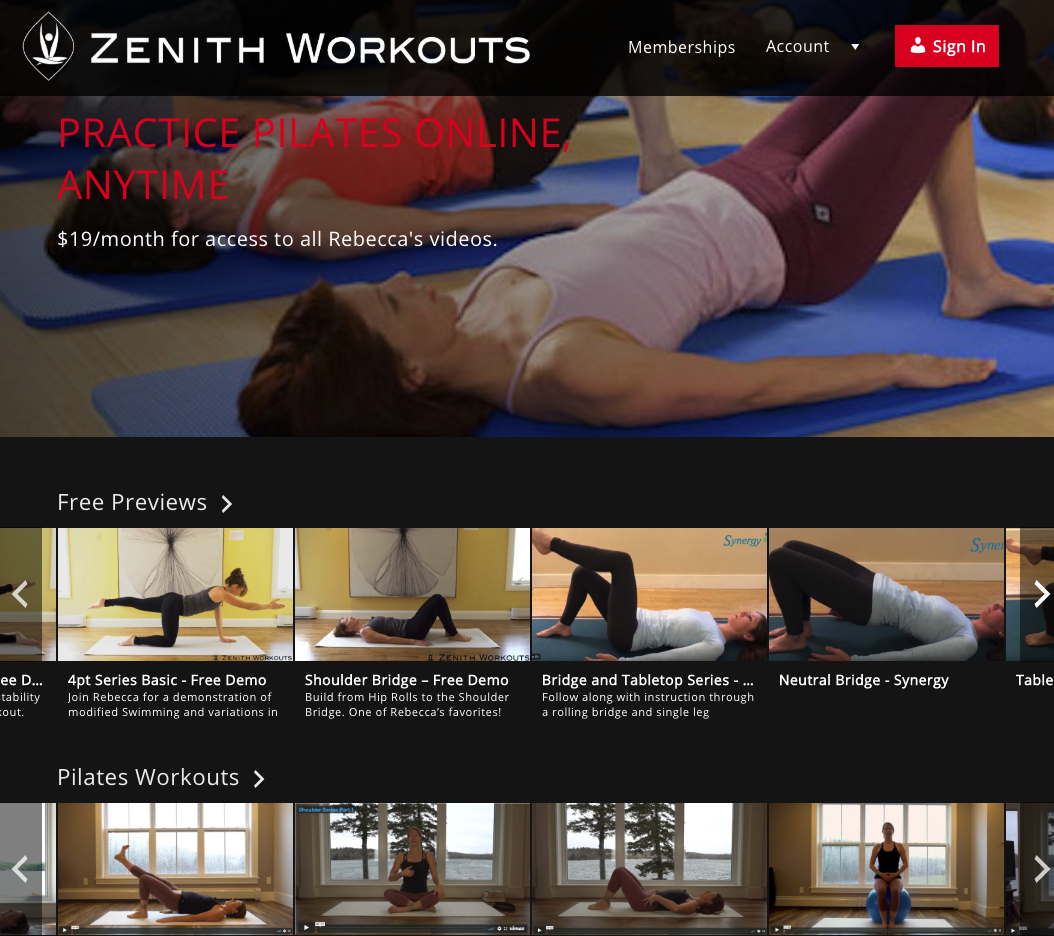
We have just launched Zenith Workouts!

Can’t make it to class?  No problem, you can work out with Rebecca whenever you want in the comfort of your own home by going to www.zenithworkouts.com!

Videos online cover everything from level 1 to 3, pre and post-natal pilates as well as specialized videos.

Registered class participants get free access, non-members pay $19/month, just email us for a code to try it out for a week. info@zenithphysiopilates.com

We offer classes for all ages and fitness levels

Pilates Basics  is a therapeutic class focused on improving posture and balance, decreasing joint stiffness, and developing core strength.  Participants are introduced to the essential principles of  Physio Pilates with emphasis on proper, safe technique.This is a great starting point for anyone recovering from an injury/surgery, or for those interested in improving their general health and well-being.

Level 2 and 3 are designed for active, healthy living.  These classes focus on core strength, stability, muscle balance, and flexibility.

PreNatal sessions are designed specifically to maintain a strong core during pregnancy and to help the body prepare for labour and delivery. These classes include pelvic floor training, stability exercises, and education on appropriate and safe activities throughout pregnancy and afterwards.

Pre & Post Natal Pilates is a special class to prepare your body for pregnancy and delivery, and restore your core after birth. Designed to prevent and treat low back and pelvic pain, to prepare the pelvis and pelvic floor muscles for delivery and enhance recovery, and to improve core stability and strength.

Pilates for Strong Bones This class is appropriate for people who have Osteoporosis or Osteopenia (low bone density). With a diagnosis of Osteoporosis it can be difficult to know how to exercise safely. Exercise (or rather, the right exercise) is known to be a great treatment for Osteoporosis and can help improve bone density, maintain a tall spinal posture, and improve balance/ reduce the risk of falls. This class focuses on dynamic weight-bearing and participants are taught safe exercise and activities for living with Osteoporosis.

5 post-birth exercises to restore your core

Photos: Rebecca Judd for Restore Your CoreSource:BodyAndSoul

When model Rebecca Judd wanted to get her body back into shape after her twins, she headed to women’s healthy physio Shira Kramer, who has been working with women on their post birth recovery for past decade.

But you don’t need to be a celebrity to tone your tummy and strengthen your core, lucky for us, Shira has launched an 8-week online program that kick-starts mum’s recovery and fitness post baby by offering 5 daily exercises you can do in the comfort of your own home.

Here Shira gives us a sneak peek into some exercises new mums should be doing daily. The best bit? They don’t take long and can be done anywhere:

Exercise 1: Pelvic Floor

Pelvic floor muscle exercises are the priority to assist in your recovery after childbirth (and forever after!).

These important muscles are responsible for controlling your bowel, bladder and uterus. They also have an important role to play in controlling where and when you go to the toilet (continence). 1 in 3 women who have had a baby will suffer from pelvic floor issues. By exercising your pelvic floor muscles effectively you will be in better shape to control what goes on down under.

  1. Find good posture in any position – sitting, standing or lying down
  2. Imagine letting go like you would to pass wind and to pass wee. Let your tummy muscles relax too.
  3. Tighten and lift around your back and front passages as if you are holding on to go to the toilet (imagine your are stopping wind and wee / or imagine lift doors that are closing and lifting)
  4. Hold this contraction as you take a breath in and out comfortably

Do 5 lifts, 3 times everyday

Exercise 2: Deep Abdominals

The deep abdominal muscles are important in supporting your back and pelvis. They are often stretched and weakened through pregnancy leading to back pain, poor posture and pelvic floor problems. The outer abdominals can also separate in the centreline (called DRAM diastisis rectus abdominus muscles). This occurs in 2 out of 3 women in the 3rd trimester and often persists after delivery. By exercising the deep core muscles your back will cope better with the demands of motherhood and assist in recovery of DRAM. Also the stronger you keep your insides the faster you will recover and return to your pre pregnancy shape.

  1. Find good posture in any position – sitting, standing, lying down or in a four point kneel position (all 4’s).
  2. Imagine letting go like you would to pass wind or to pass wee. Let your tummy muscles relax too.
  3. Lift your pelvic floor and then gently and slowly draw in your lower abdominal muscles. Imagine you are narrowing your waist or drawing in your bikini line muscles. Hold this contraction as you take a breathe in and out comfortably.

Hold for 1-2 breaths, do 10 reps 3 times a day and whenever you’re lifting.

Technique Tips (for exercises 1 and 2): Nothing above the belly button should tighten or tense. If you cannot feel your muscles contracting, change your position and try again. For example, if you cannot feel your muscles contracting in a seated position, try lying down or standing up instead. After a contraction it is important to relax the muscles. This will allow your muscles to recover from the previous contraction and prepare for the next contraction. Avoid tensing your upper abdominals, thighs or buttocks – these are internal exercise and correct technique is vital.

Exercise 3: Squat with Arm Openers

Pregnancy along with the daily activities being a mum (changing nappies, feeding, pushing a pram etc) affect your posture which can lead to aches and pains. By strengthening your postural muscles you will feel (and look!) a whole lot better.

  1. Stand tall with your shoulders back and down. Stand in the middle of your resistance band with your feet hip-width apartCross the band over and hold on to each end.
  2. Lower into a squat (by sending your hips back) and raise the arms wide to just above shoulder height.
  3. Lower arms with control as you push through the heels and return to an upright position.

Technique Tips: Your palms face forward at the top of the movement. Keep your wrists neutral throughout. Increase or decrease resistance by adjusting your grip on the band.

Do 10 reps

Exercise 4: Four Point Kneel

Opposite arm and leg slide

  1. Position yourself on all fours, with your hands positioned beneath the shoulders and knees directly under hips
  2. Set the core and raise one arm up as you slide one leg back.
  3. Return to starting position and alternate sides

Hold for 2 breaths, do 10 reps.

Technique Tip: Keep elbows soft and lower back still. Progress by increasing hold time.

Exercise 5: Standing Rotations

  1. Tie a resistance band between feet and hip height to a secure anchor point
  2. Stand tall with your spine in neutral and your shoulders back and down
  3. Keep your arms straight out in front as you hold onto the end of the band with both hands side by side
  4. Set your core, rotate by drawing both arms around to the side of your body
  5. Return to starting position, slow and controlled
  6. Reset and repeat, turn to the other side when set is complete

Do 10 reps

Technique Tip: Lift through crown of your head as you rotate to elongate spine and keep the pelvis and hips facing forward throughout the movement.

(Original article 16th May 2018: https://www.bodyandsoul.com.au/fitness/mums-fitness/5-postbirth-exercises-to-restore-your-core/news-story/5273dbc917bb7a2996ab5c024b667654)

Our Services:

Common running injuries and what to strengthen

People in Delta love to run. I never really reflected on that until a little kid in Payette, Idaho made me realize it.

We were there a number of years ago visiting my father-in-law when I went for a run. About halfway into it I passed a young boy standing at the end of his driveway. As I ran past him he shouted at me, “What are you doing lady?” I laughed and turned around and replied, “Running.” He didn’t quite know how to answer back to that.

Running is convenient, you can do it anywhere (including Payette, Idaho), you don’t need a lot of equipment and, for that matter, a lot of skill either.

So, it’s understandable a runner gets ticked off when they are sidelined by an injury.

Most running injuries affect the lower body, which makes sense since it’s the lower extremities doing all of the work.

Why injuries happen are due to a number of reasons: too much mileage and too soon, poor biomechanics, or maybe your muscles aren’t healthy, flexible or strong enough.

The most common injuries for runners are: plantar fasciitis, Achilles tendonitis, patellofemoral pain syndrome (also know as “runner’s knee”) and iliotibial (IT) band syndrome.

Plantar fasciitis is pain in the heel and the bottom of the foot. The “itis” let’s you know It’s inflammation, and in this case it’s inflammation of a band of connective tissue on the underside of your foot.

It’s painful and can take a long time to heal, so if you are experiencing any foot pain, get yourself to a physiotherapist – STAT.

Some things you can do to avoid plantar fasciitis include: stretching your calf muscles, working on the mobility of your ankle joint, wearing proper footwear (go visit my buddies at The Run Inn), focus on relaxing your lower leg muscles when you run, run on flat surfaces, and when running land with a mid-foot strike, instead of a heel strike. This will keep your plantar tendon relaxed.

With Achilles tendonitis, you will encounter pain on the back of the lower leg. To avoid ticking off your Achilles tendon, warm-up with a brisk walk before you run and keep your calf muscles strong and flexible.

However, if you do tick off your Achilles, ice, rest, a glass of wine and physiotherapy will get you back on track again.

Patellofemoral pain syndrome is pain at the front of the knee, near or right under the kneecap. To sidestep this type of knee pain you have to hit the gym or a class. At the gym work on strengthening your glutes, hips and hamstrings, and then go hit up a yoga class to work on your mobility and flexibility.

Lastly is my foe iliotibial (IT) band syndrome. The IT band is a tendon that runs from the outside of the hip and attaches to the outside of the knee. If you have pain on the outside of the knee, and sometimes the side of the hip, chances are it’s your IT band.

This little tendon had me limping for a number of months back when I was doing triathlons. Luckily we have now come to an agreement.

Steer clear of IT band problems by strengthening your glutes and outer hips muscles, while also working your core, and stretching your calves, hamstrings, quads and hips on a regular basis.

If you are encountering any of these symptoms I listed, please don’t ignore them. The longer you leave things, the more damage you will do and the longer it will take to get yourself better once you finally do go to a physiotherapist.

OK? OK.

PJ Wren is a local personal trainer and writer who can be reached at www.thestudio.ca or www.fitnesswithpj.com.

(Original article 18th May 2018: http://www.delta-optimist.com/living/common-running-injuries-and-what-to-strengthen-1.23306282)

Your core impacts everything you do; make sure it’s strong

(Original article 22nd April 2018: http://www2.ljworld.com/news/2018/apr/22/your-core-impacts-everything-you-do-make-sure-its-/)

Physical therapists can determine what is contributing to a patient’s pain by evaluating core strength and posture, locating muscle imbalances and assessing harmful movement patterns. A therapist focuses exercises to get the most benefit for an individual’s needs.

Friends and family are concerned and urge her to “get into shape.” A quick search on the internet indicates that “core weakness” may be contributing to her problem.

“Core” is a common word to anyone who has had treatment for back pain, exercises regularly or participates in any sport activities. But this word can be confusing: What exactly is my core? Should I be doing more sit-ups? How can I get help with strengthening?

The core has many interpretations. Some people describe the core as a “corset” of muscles that provide stability for movement and protection of the spine.

“The core has everything to do with everything we do,” said Gary Gray, a physical therapist at the Gary Gray Institute in Adrian, Michigan.

Others from his institute describe it as “everything from your nose down to your toes.” Other sources define the core as the torso, which is a long list of muscles that make up the areas of the belly, mid and lower back, shoulders, hips and neck. It also includes the pelvic floor and diaphragm.

The core has more than a few roles in our body. It provides stability to our body so we effectively can move our arms and legs. It allows us to sit up straight and efficiently align our skeleton to transfer forces.

You may have heard the phrase “neutral spine,” which refers to the position of your spine when all three curves are in proper alignment and there is the least amount of stress placed on the spine joints. Your core allows you to find and maintain that position. Weakness or inefficiency in core muscles can lead to inefficient movement patterns, injury and pain — which is the case for Jill.

Listening to the advice of others, Jill decided to hire a personal trainer. But she made some common mistakes during her exercises: she stood with a slumped posture, held her breath during exercises, held her stomach muscles tight during exercise and performed high-intensity exercises before understanding how to correctly activate the muscles of her core.

Although the exercises with her trainer made Jill feel more in shape, her back pain persisted — especially while sitting at work. Jill decided to visit her doctor, who told her to see a physical therapist for evaluation and treatment.

Physical therapists can determine what is contributing to a patient’s pain by evaluating core strength and posture, locating muscle imbalances and assessing harmful movement patterns. They work with patients to make goals and a specific plan to reach those goals. A therapist focuses exercises to get the most benefit for an individual’s needs. For example, active tennis players should focus on exercises that strengthen their cores and give them power when serving the ball.

It’s common for physical therapists to find that a person has a strong core but is unable to activate the muscles effectively. For instance, Jill may have strong muscles as a result of her exercise, but she struggles to find and maintain her spine in a good posture.

Knowing how to correct your posture and “turn on” the core muscles can make a huge difference with back pain. It takes training and awareness to correct your own posture and real core conditioning to hold your good posture throughout the day.

Jill’s physical therapist taught her how to find her core muscles and how to activate them. Once she was able to locate them and hold a contraction, the therapist had her work on using her core muscles while sitting, standing, reaching and lifting.

She also made some changes at work. Initially, Jill started with a lumbar support in her chair to help her sitting posture. She then progressed to sitting on a ball at her desk. She also made sure to get up and stand or walk around the office every 30 minutes.

Within two weeks, Jill was able to use her core muscles without thinking about it or reminding herself. Her back pain improved and she felt less tired at the end of the day. Jill had consciously found her core muscles and engaged them throughout her day, and her back pain no longer stopped her from being active. She was able to be more energetic afterward and rejoined her Zumba class.

How to activate your core muscles

Activation of your core muscles can be done multiple ways. One method is to gently draw your lower abdominals toward your spine in a slow controlled manner.

Another way:

• Lie on your back and relax with your legs bent, breathing in and out.

• Place your fingers on each side of your belly button to find your core abdominal muscles.

• Practice tightening and relaxing the muscles without movement.

• As soon as you feel your muscles without movement, try to hold the contractions for 10 seconds. Remember to keep breathing.

• One you can hold the contractions for 10 seconds, start mixing it up by doing this exercise sitting and then standing.

• Remember to keep your spine in a good position with your chest up, ears in line with the tips of your shoulders and lower back.

— Kim Squire is a physical therapist at LMH Therapy Services. She can be reached at Kim.Squire@lmh.org.

Our Services: